Choosing Between ESP32 and ESP8266 for Your DIY Projects in 2026
Why Does Choosing Between ESP32 and ESP8266 Still Matter in 2026?
If you’re like me—a tech hobbyist who loves DIY sensors and home automation—you’ve probably heard about ESP32 and ESP8266. Both these tiny chips have powered countless projects over the last decade. But with 2026 well underway, is the ESP8266 still worth your time, or should you just grab an ESP32 and call it a day?
Let’s break it down in a way that makes sense, even if you’re just starting with electronics or home automation.
First, What Are These ESP Chips Anyway?
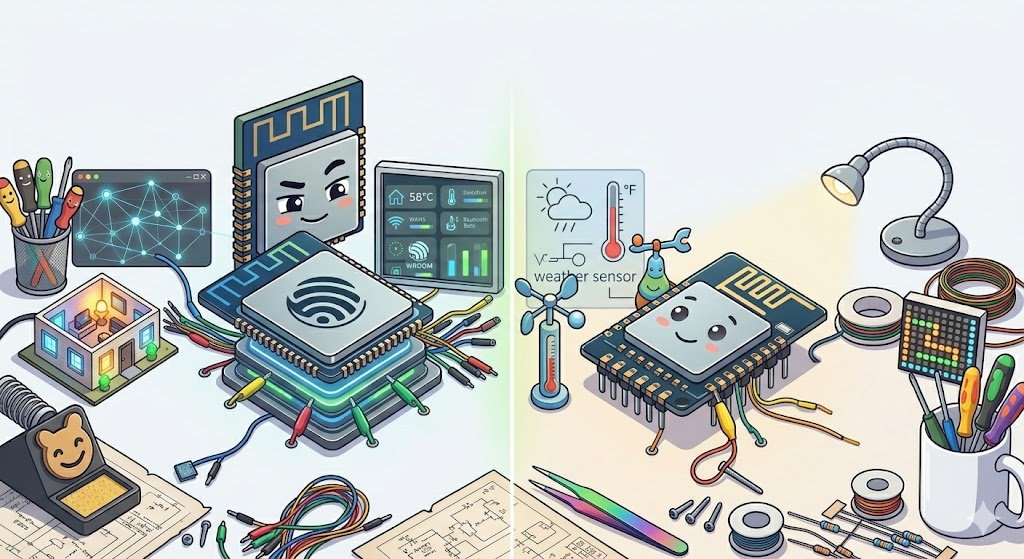
ESP32 and ESP8266 are tiny, low-cost microcontrollers made by Espressif. Think of them as the brains of your DIY sensor or smart device.
- ESP8266: Released around 2014, incredibly popular because it was one of the first affordable chips with Wi-Fi.
- ESP32: The “big brother” that came a few years later. It’s faster, has more features, more memory, and supports Bluetooth too.
Both integrate Wi-Fi, which is why they’re perfect for projects where you want devices to talk to your home network—like smart lights, temperature sensors, or even your smart garden.
How Do They Compare in 2026?
Here’s a quick overview:
| Feature | ESP8266 | ESP32 |
|———————-|—————————-|——————————-|
| CPU Speed | ~80 MHz | Up to 240 MHz |
| Cores | Single-core | Dual-core |
| RAM | Around 50 – 80 KB | Around 520 KB |
| Flash Memory Support | Up to 16 MB | Up to 16 MB (more common 4-8MB)|
| Connectivity | Wi-Fi | Wi-Fi + Bluetooth 5 |
| ADC Channels | 1 (with limited accuracy) | Multiple, better accuracy |
| Price (2026) | Around $1-2 | Around $2-4 |
So, what’s the practical difference?
- The ESP32 is more powerful and versatile. It’s like upgrading from a regular bike to an electric scooter.
- The ESP8266 is simpler and cheaper, perfect when you just need Wi-Fi and basic sensor reading.
Which One Should You Pick for Your DIY Sensors or Home Automation?
When to Use ESP8266
- Budget matters: If you want to keep costs razor-thin and your project is simple, the ESP8266 often does the job.
- Simple Wi-Fi device: For example, temperature sensors sending data every few minutes, simple relays, or switches.
- Existing code deployments: If you have older projects or tutorials based on ESP8266, sticking with it makes sense.
When to Use ESP32
- More power and speed: For tasks like local data processing, controlling multiple sensors, or requiring faster response times.
- Bluetooth Support: Handy if you want direct device communication without Wi-Fi.
- More GPIO pins: Great for projects with lots of sensors or actuators.
- Better for battery-powered: Thanks to improved sleep modes and dual-core, you can optimize power usage more effectively.
Real-World Examples
ESP8266 Example: You want to build a Wi-Fi-connected soil moisture sensor for your garden that wakes up every hour, measures moisture, sends data to Home Assistant, then goes back to sleep. The ESP8266 is perfect here—cheap, low-power enough, and plenty capable.
ESP32 Example: You’re making a smart thermostat with a touchscreen, multiple sensors (temperature, humidity, CO2), Wi-Fi connectivity, and Bluetooth configuration from your phone. The ESP32 is better suited because it can juggle all those tasks smoothly.
Common Mistakes and Gotchas
- Assuming ESP32 is always better: Sure, it is more powerful, but sometimes that power is overkill and drains more energy unless carefully managed.
- Ignoring power consumption: If your project is battery-operated, remember to optimize sleep modes. ESP32 has more options here but is sometimes trickier to configure.
- Flash Memory limits: Many cheap modules still come with only 4MB of flash—sufficient for most projects, but heavy web server or OTA (Over The Air) updates might need more.
- Bluetooth complexity: Don’t use Bluetooth on ESP32 if you don’t need it; it adds complexity and power usage.
When Might Neither Be the Right Choice?
If your project needs ultra-low power for months to years on batteries, or if you need industrial-grade reliability beyond hobby use, consider other microcontrollers designed specifically for those purposes (like Nordic’s nRF series for BLE or ultra-low power chips). Also, if you’re building a high-throughput data logger or complex edge AI, you might want to look beyond basic ESP boards.
My Takeaway After Years of Tinkering
The ESP8266 is still a rock-solid choice for many simple, low-budget projects). It’s like the trusty old workhorse that just keeps running.
But for new projects where you want flexibility, extra features, and future-proofing, the ESP32 is usually the better pick. That’s the one I usually grab nowadays unless cost is tight or simplicity is key.
Either way, both are supported wonderfully by ESPHome, the open-source tool that helps you flash and configure these chips easily for home automation, which is a huge win.
Getting Started Tips
- Pick your chip based on needs: Don’t just grab the newest. Think about what your project really requires.
- Use ESPHome: It simplifies building sensors and smart devices without deep coding.
- Start simple: Get one sensor working at a time.
- Plan power: Especially if it’s battery-powered, learn about deep sleep modes early.
- Join forums and communities: There’s a big, friendly maker crowd online for ESP projects—learning from others saves loads of headaches.
Happy tinkering! Your perfect project is just a code upload away.


Post Comment